With the release of v2.0.3 the ability to specify whether to display living people has been added. This page details three ways of making use of this facility.
1: Create two pages one with the shortcode [ gedshow living=”yes” ] and one with the shortcode [ gedshow living=”no” ] (the surname shortcode works in exactly the same way). If you create the ‘living=yes’ page using the classic editor then click the visibility link in the publish window
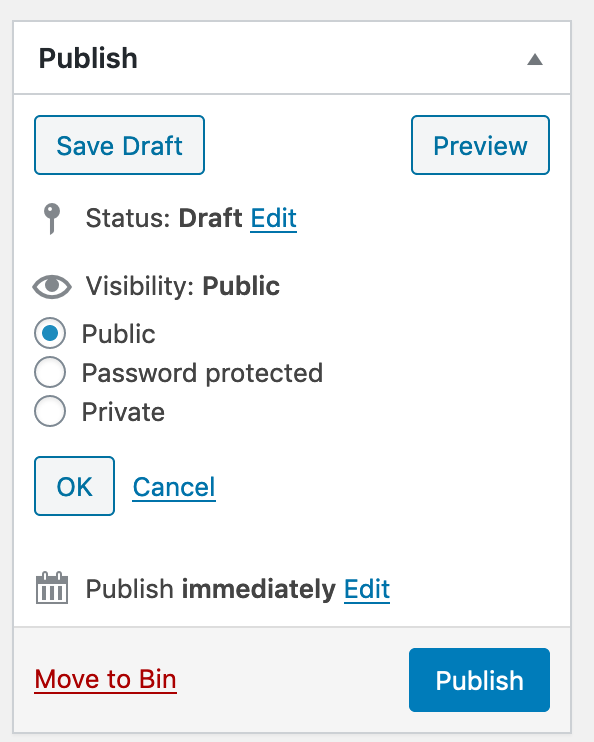
Then select the ‘Password protected’ option and set your password in the password box, select OK and then publish. You can then add this page as normal to your menu structure. Anyone accessing this page would need to enter the password before they could view the content.
If you use the Gutenberg editor then you make use of the same option but it is under Status and Visibility and it looks like this:
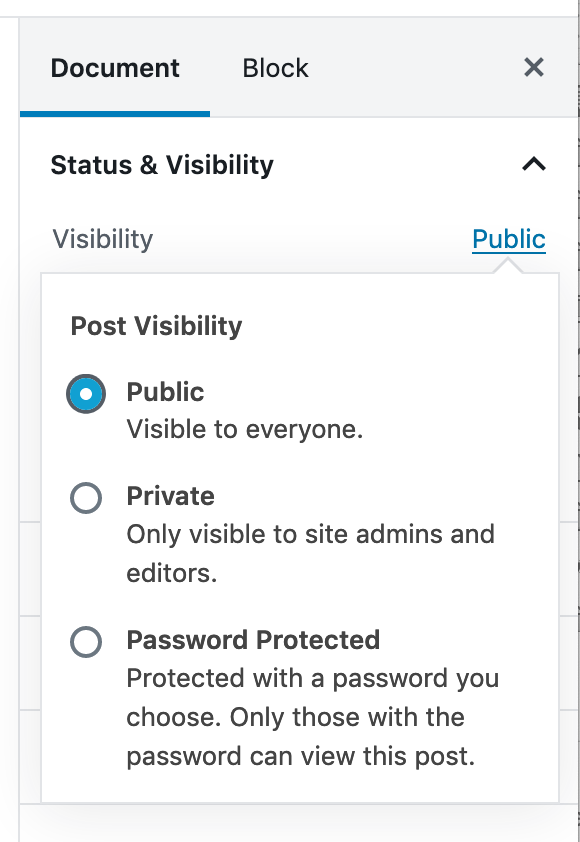
2: This method is a variant of the above method is intended for sites who only want logged in users to access the page. It does mean that only users with a role of Admin or Editor can access the page. It is enabled by choosing the Private option instead of Password protected. There are ways to make Private pages visible to site members with lower permission roles. This is a link to a site showing how this can be done but it does require some additional files to be created or existing files altered.
3: This method is more complicated and does require you to create a plugin or edit your functions.php file. If you do not want to code it yourself you can use a plugin such as User Menus available in the repository.
You will need to create your own plugin file using the code below:
<!--?php
/**
*Plugin Name: Site Plugin for your site name
*Description: Site specific code changes for your sitename
* Version: 1.0
* Author: Your name
* Author URI: If you have one
*/
/* Start Adding Functions Below this Line */

//Different menu for logged in users
function my_wp_nav_menu_args( $args = '' ) {

//***** Login stuff
if( is_user_logged_in() ) {
	$args['menu'] = 'logged-in';
} else {
	$args['menu'] = 'main';
}
	return $args;
}
add_filter( 'wp_nav_menu_args', 'my_wp_nav_menu_args' );
Copy this code into a text editor and save it as something like my_site_plugin.php once you have edited the top section to reflect your site and name. Then copy it to the plugins folder on your site. It will then appear as Site Plugin for mysite.com in the plugins folder in the dashboard. It will need activating in the usual way.
This code allows you to have two different menus one called Main for all your site visitors and the second for Logged-in users. To make use of it in the Dashboard > Appearance > Menus create two identical menus to start with, one called main and the second called logged-in. Then add any additional pages that you want to display to the logged in users to this menu. Make sure you save the new menus.
Alternatively, you can place the code from and including
//Different menu for logged in users
and place it at the end of your themes functions.php file. Be aware if you choose this option and subsequently update your theme then these changes will be lost. A better way is to have a child theme and put the code in that functions.php and it will not be overwritten when you update the parent theme.
As I said at the start of this option it is for more experienced users of WordPress, the plugin route or password protected pages are a better bet for inexperienced users.